captaincastiron.com
Buy Me A Coffee
Patreon
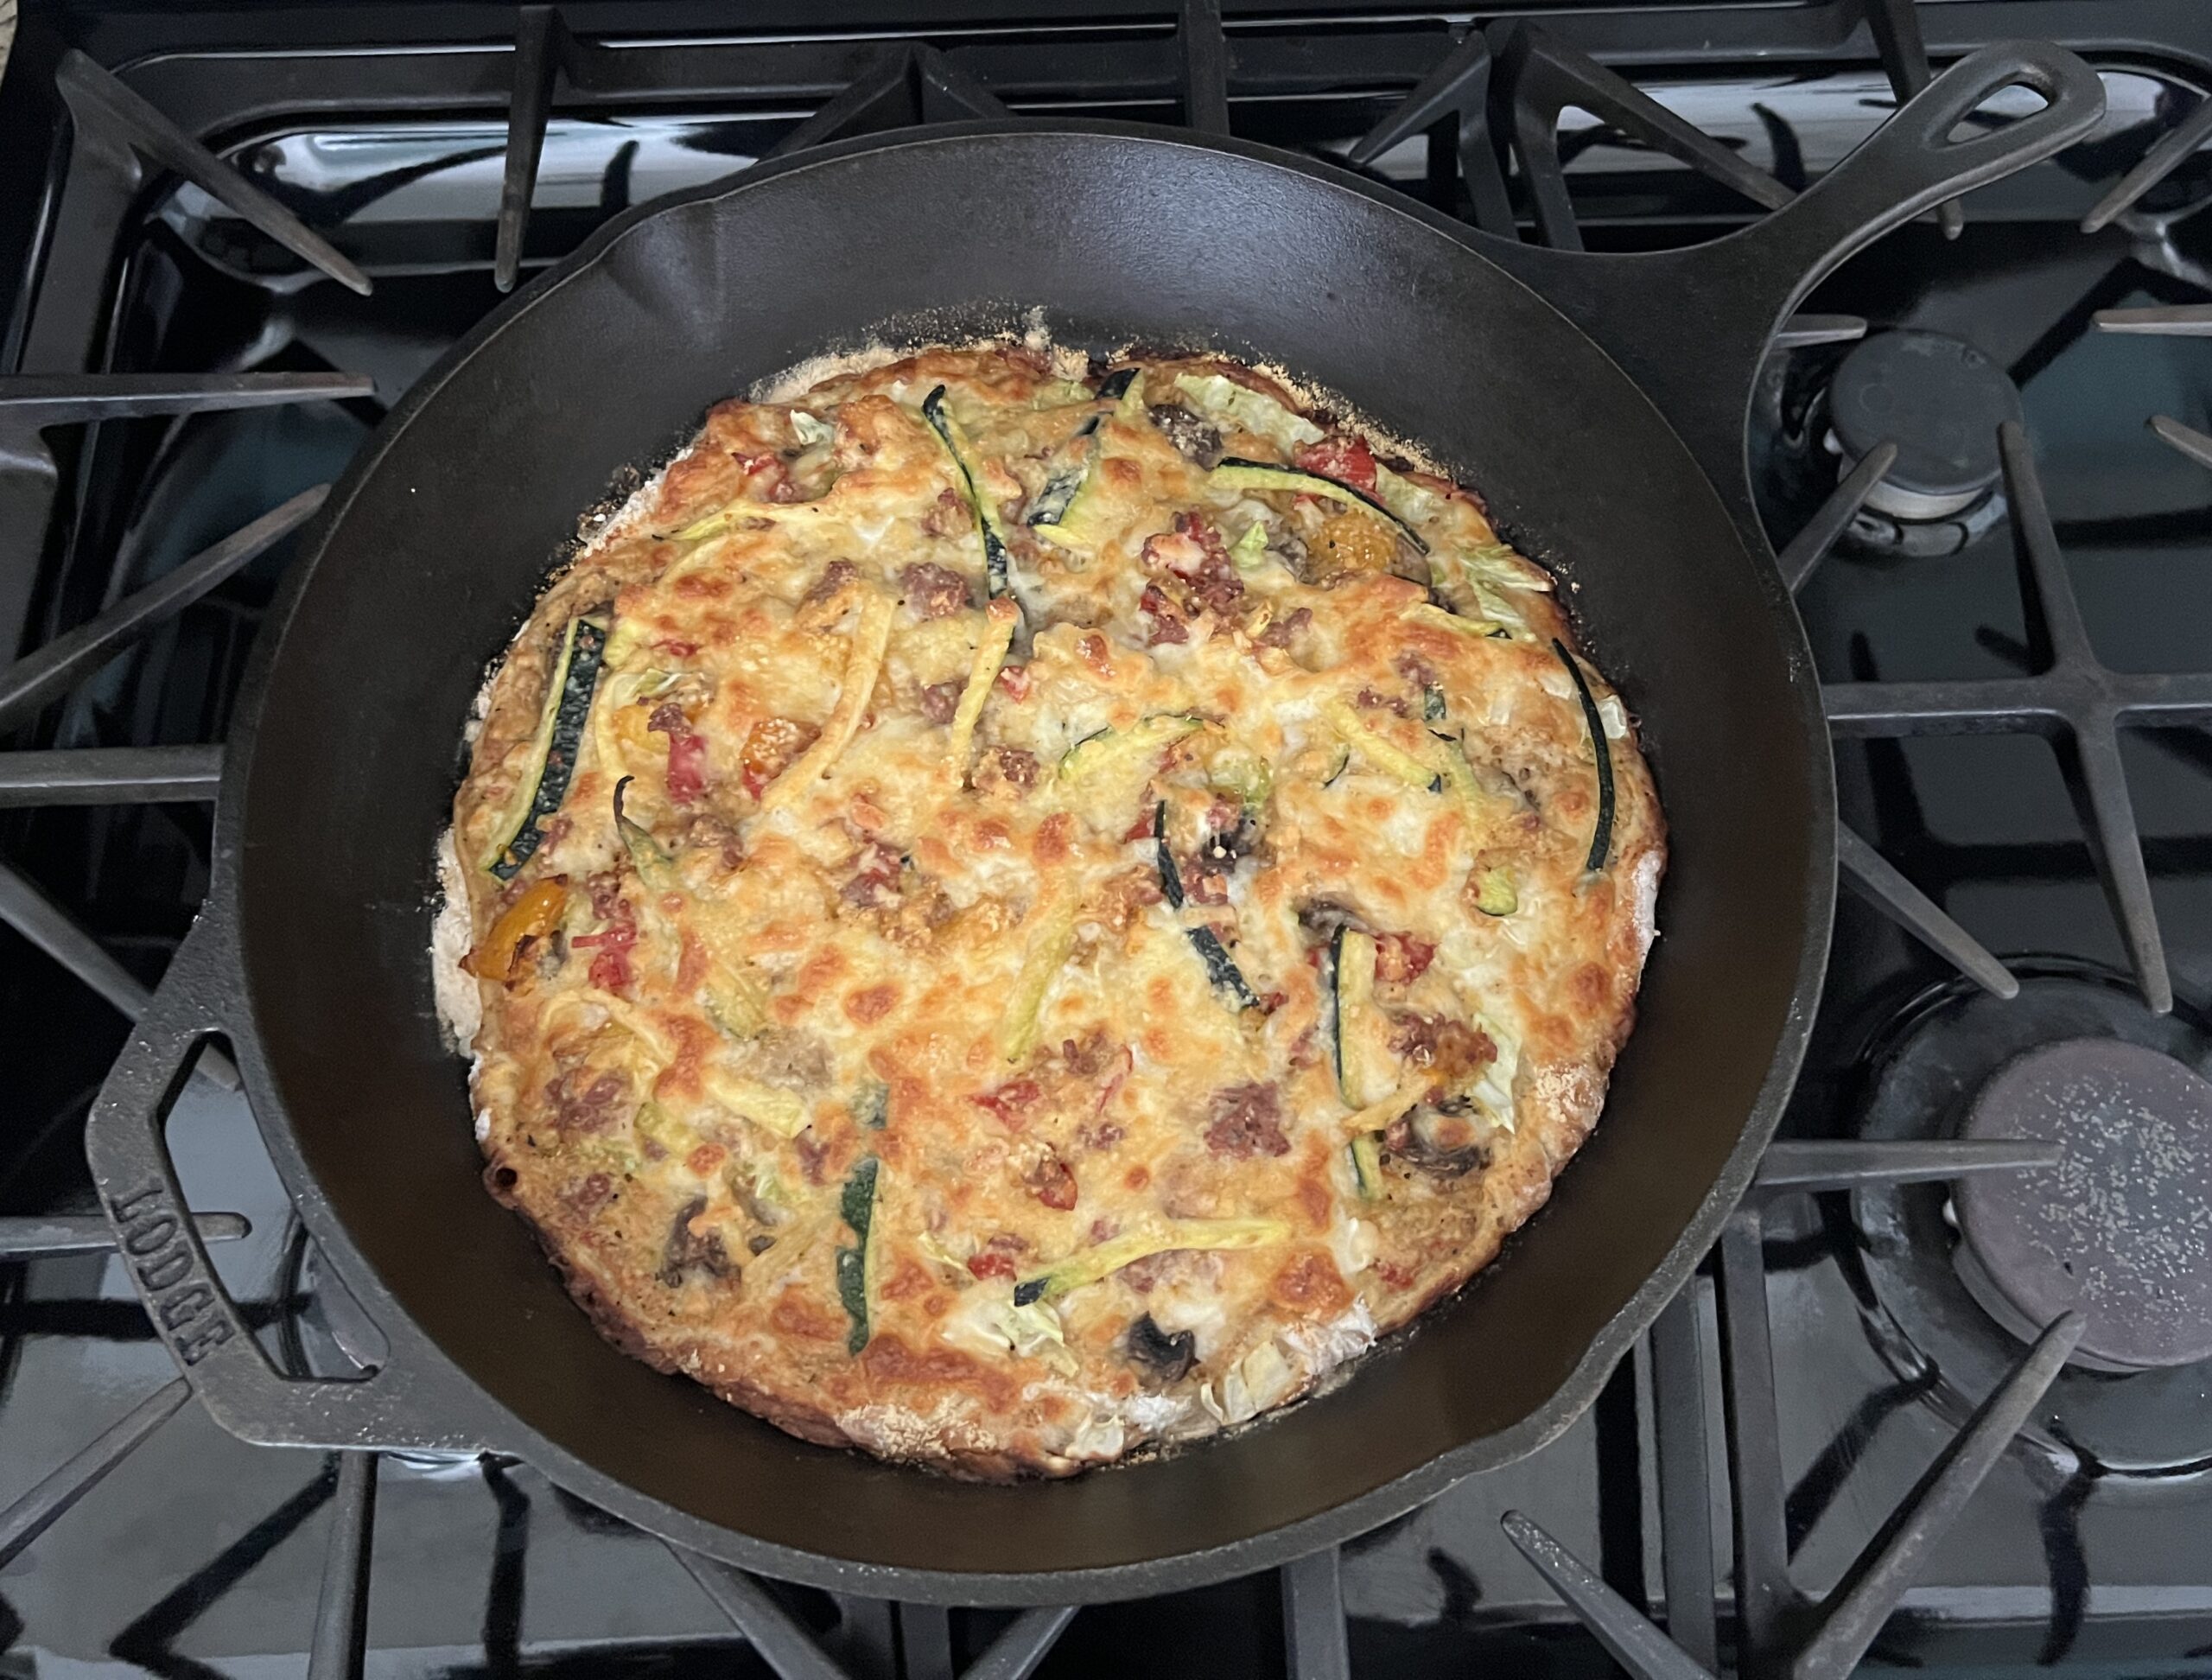
7 PIZZA BEEF ZOODLE | captaincastiron
ABSTRACT
June 30, 2025
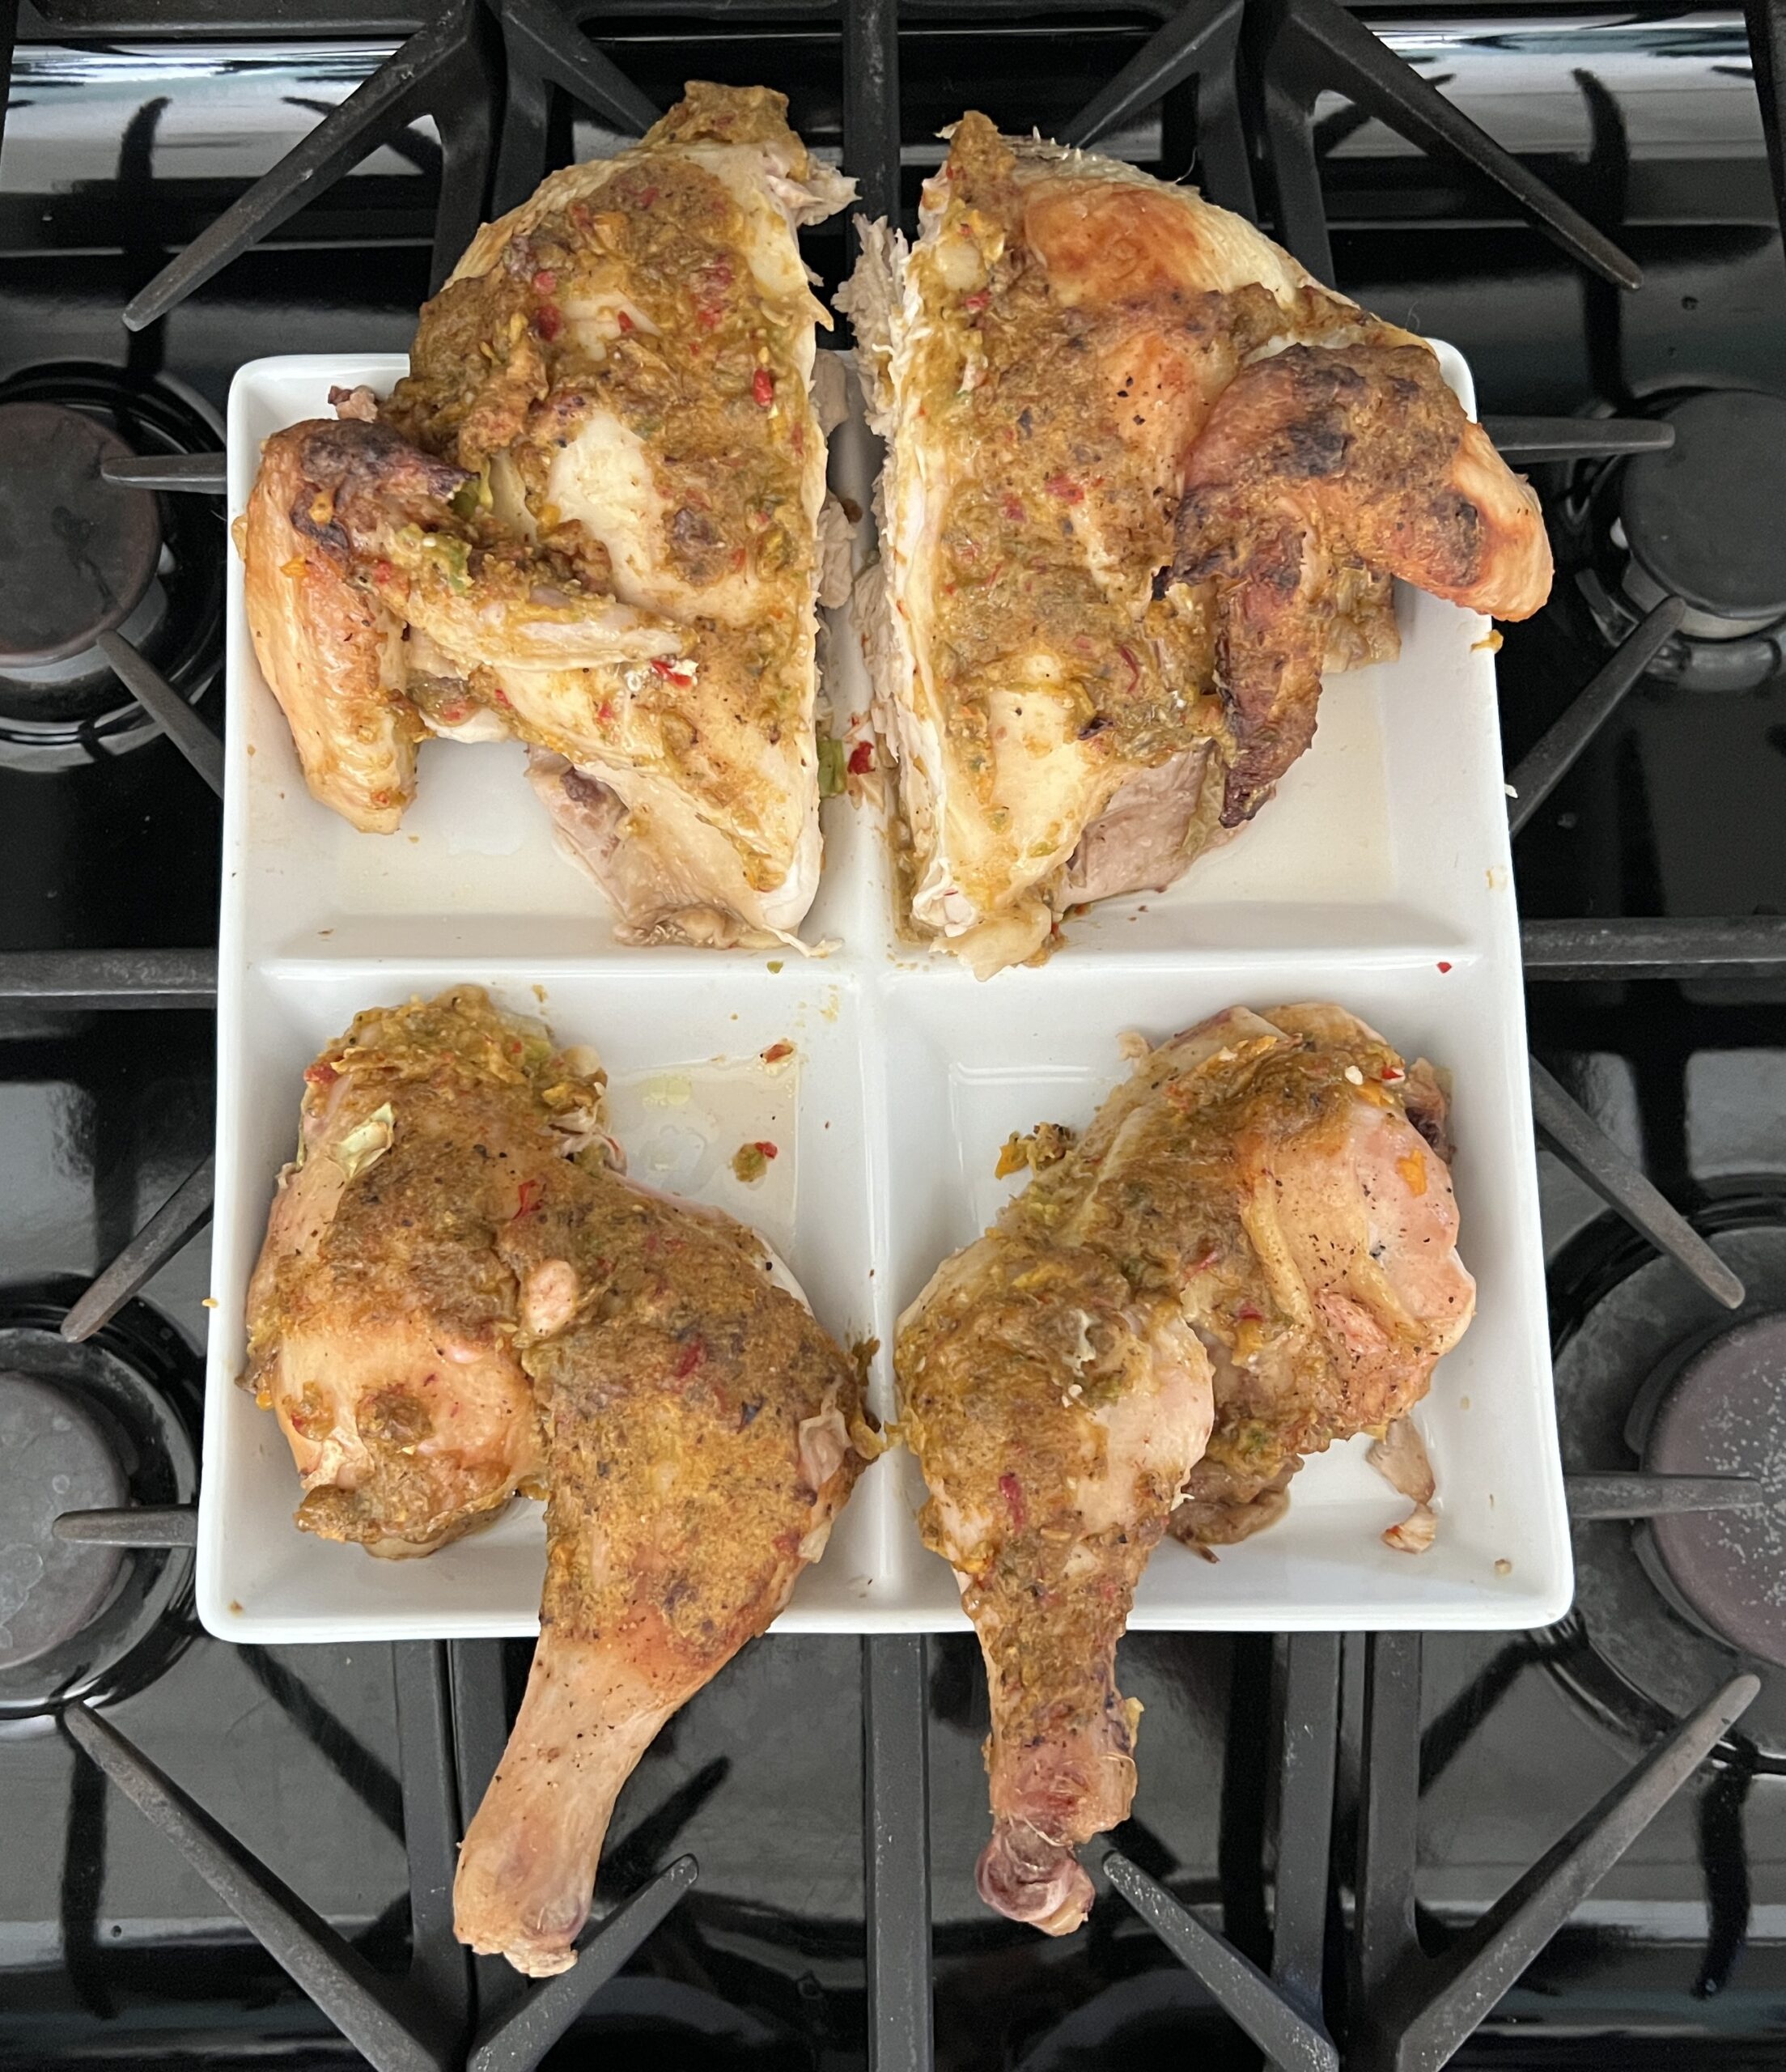
6 CHICKEN BUTTERFLY keto | captaincastiron
ABSTRACT
June 23, 2025
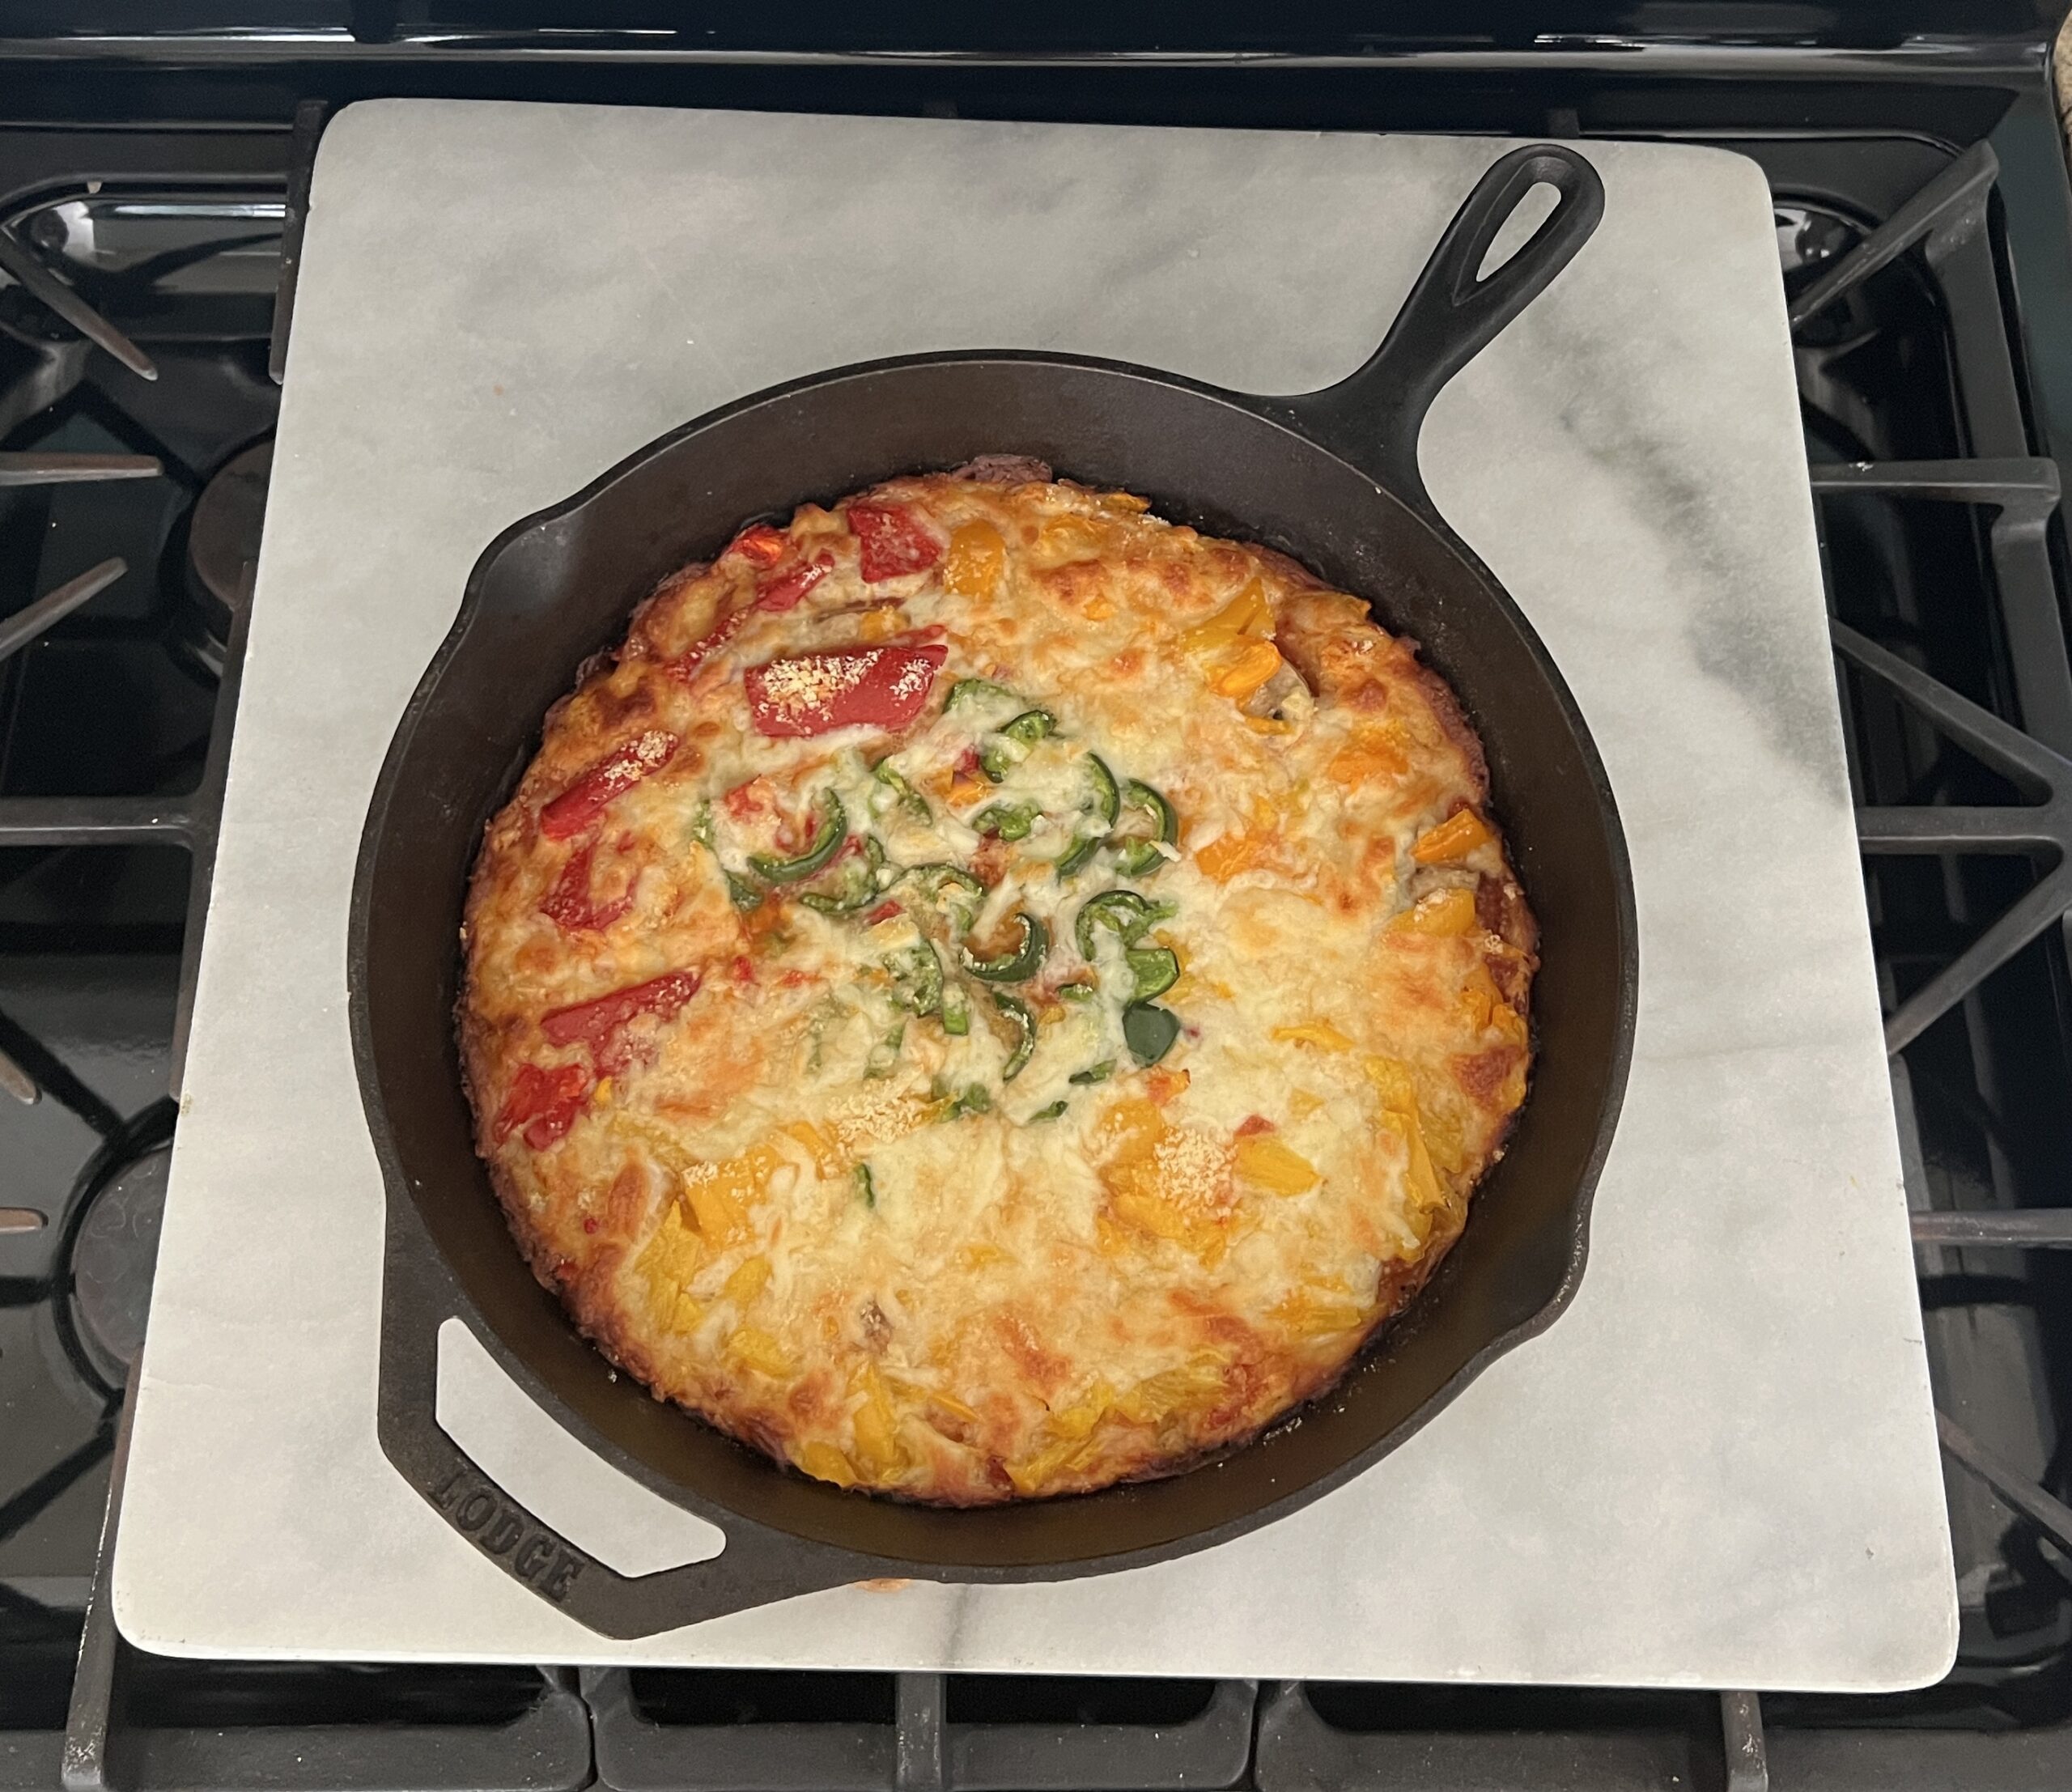
5 PIZZA COMPOSITION | captaincastiron
ABSTRACT
May 16, 2025
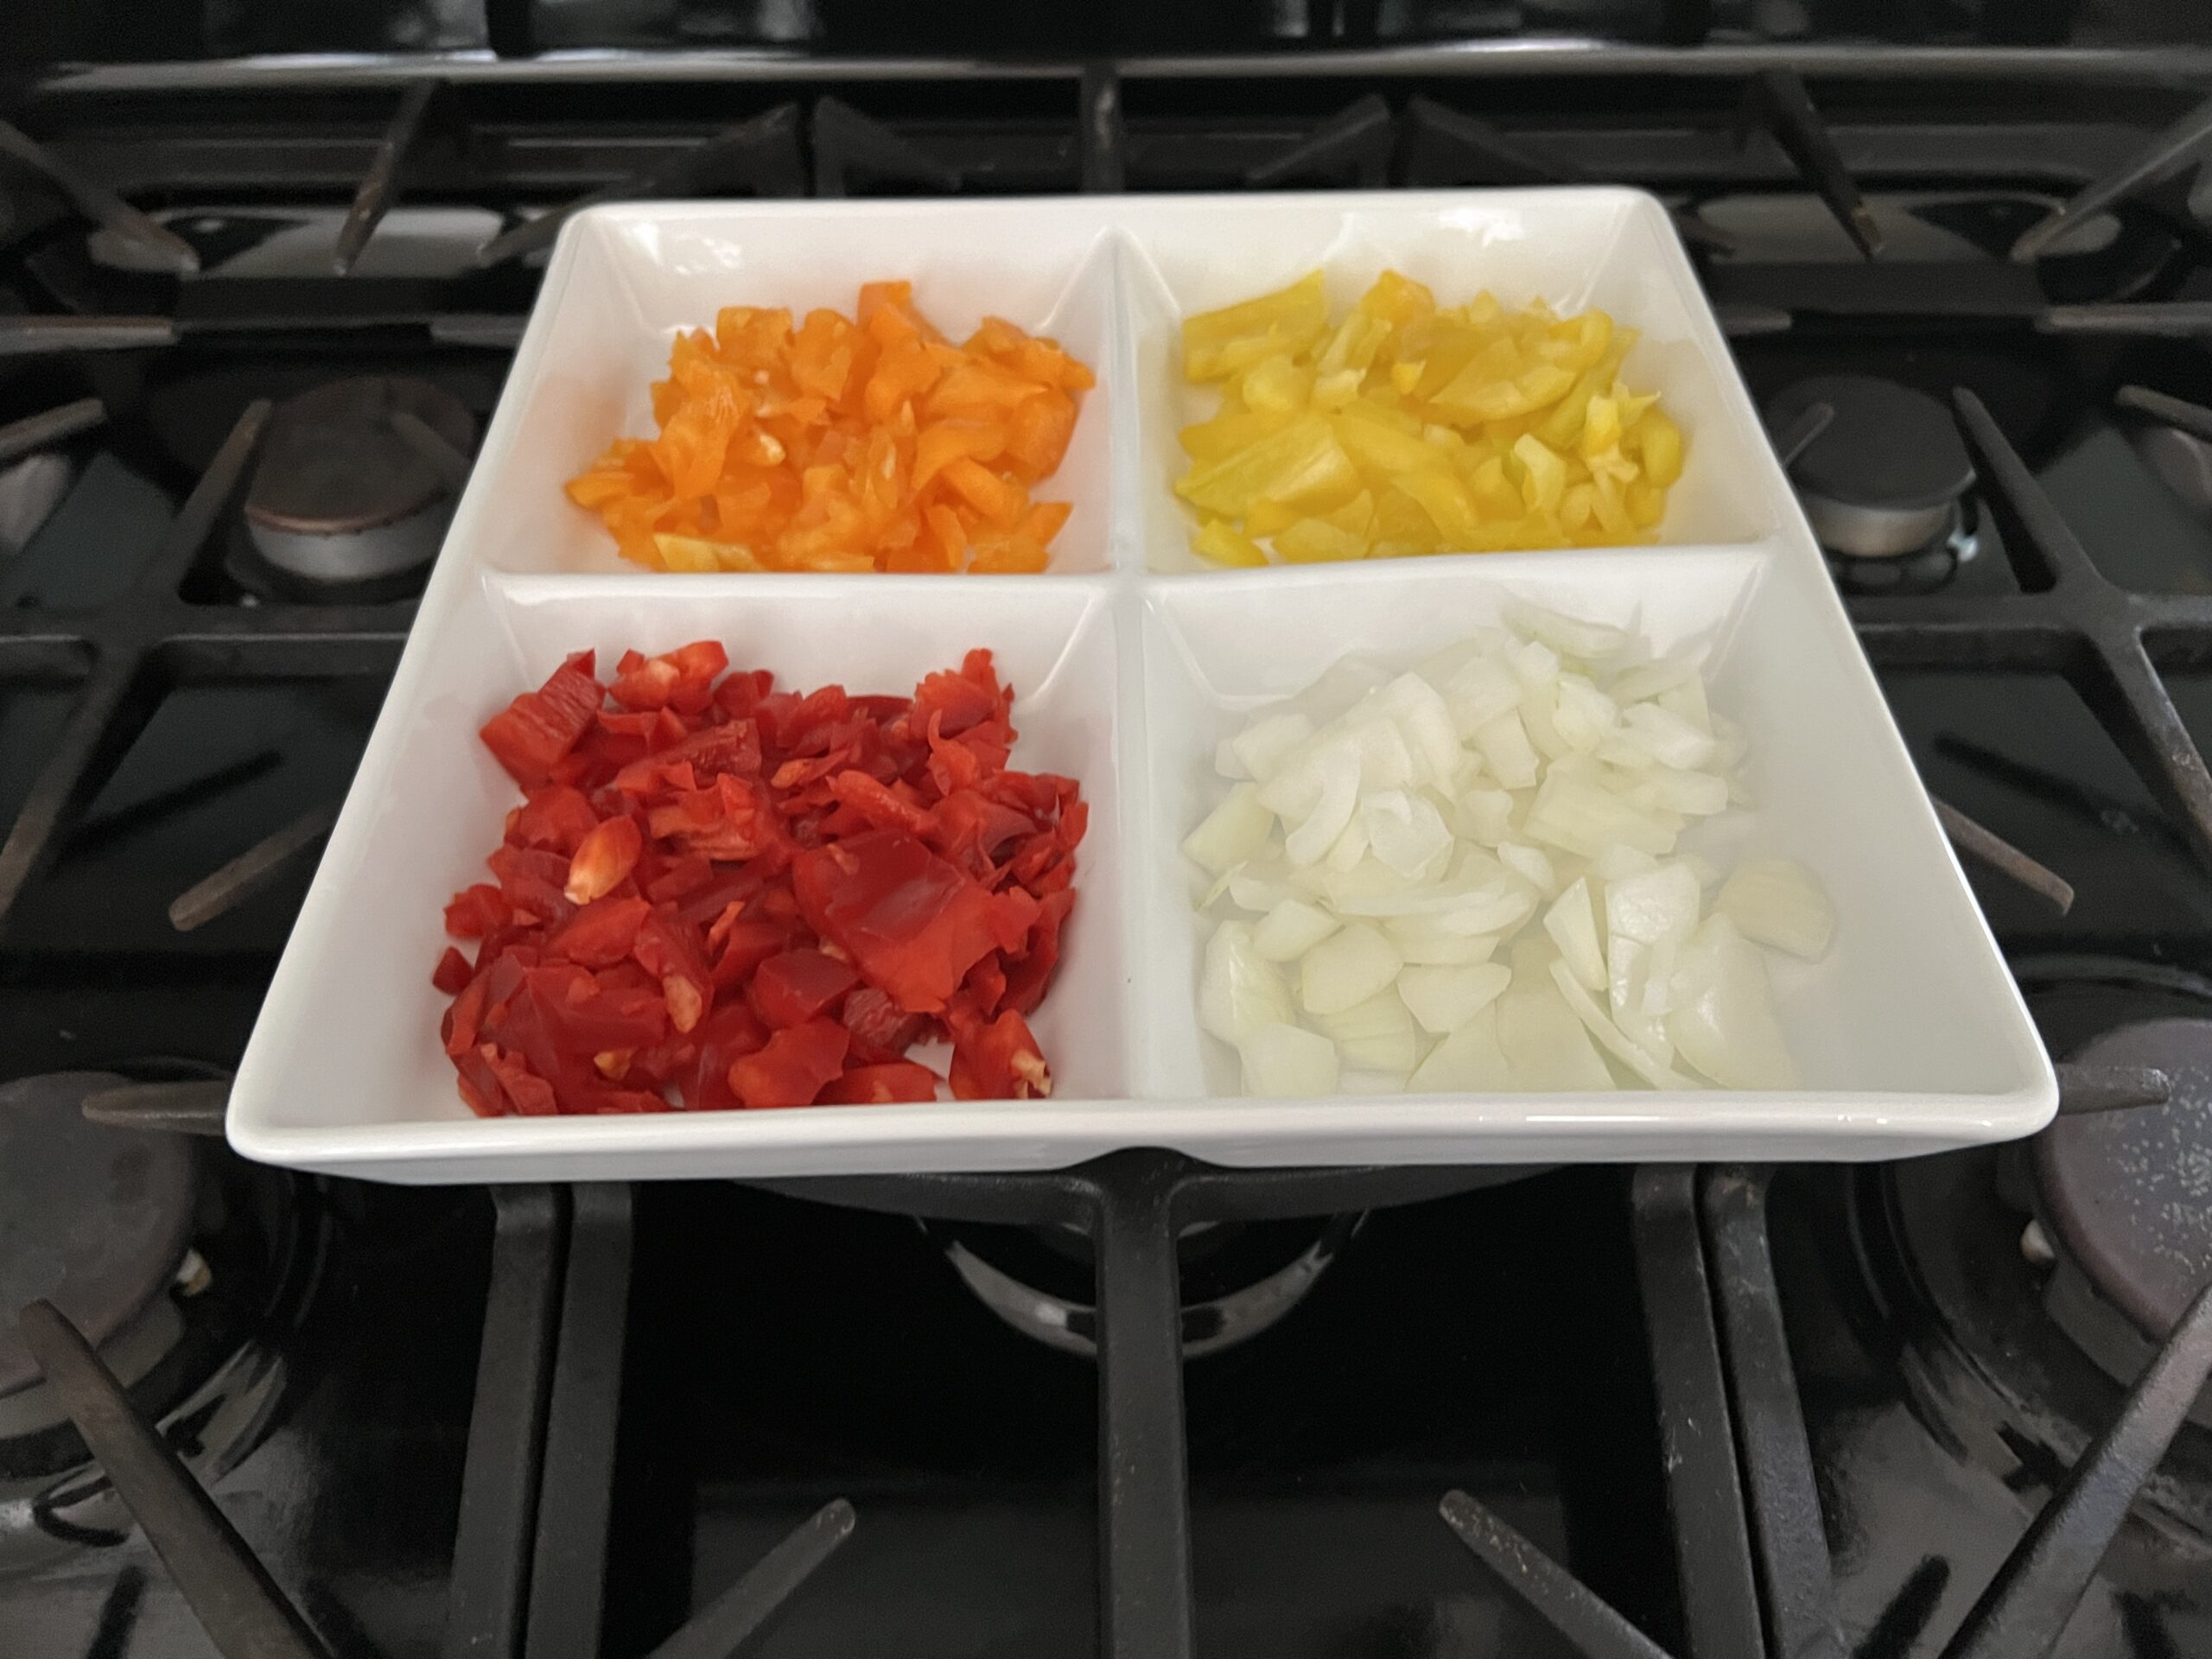
4 PIZZA SHORT PREP | captaincastiron
ABSTRACT
May 9, 2025
3 PIZZA LONG PREP | captaincastiron -20 Minutes for 4 Cast Iron PIZZAS
ABSTRACT
May 2, 2025
2 PIZZA Pizza Dough | captaincastiron
ABSTRACT
April 26, 2025
1 PIZZA Basic Pizza | captaincastiron
ABSTRACT
April 19, 2025
Contact
ART
August 19, 2025
7 PIZZA BEEF ZOODLE | captaincastiron
ABSTRACT
6 CHICKEN BUTTERFLY keto | captaincastiron
ABSTRACT
5 PIZZA COMPOSITION | captaincastiron
ABSTRACT
4 PIZZA SHORT PREP | captaincastiron
ABSTRACT
3 PIZZA LONG PREP | captaincastiron -20 Minutes for 4 Cast Iron PIZZAS
ABSTRACT
2 PIZZA Pizza Dough | captaincastiron
ABSTRACT
1 PIZZA Basic Pizza | captaincastiron
ABSTRACT
1
7 PIZZA BEEF ZOODLE | captaincastiron
ABSTRACT
6 CHICKEN BUTTERFLY keto | captaincastiron
ABSTRACT
5 PIZZA COMPOSITION | captaincastiron
ABSTRACT
4 PIZZA SHORT PREP | captaincastiron
ABSTRACT
3 PIZZA LONG PREP | captaincastiron -20 Minutes for 4 Cast Iron PIZZAS
ABSTRACT
2 PIZZA Pizza Dough | captaincastiron
ABSTRACT
1 PIZZA Basic Pizza | captaincastiron
ABSTRACT
MESSAGE
ART
7 PIZZA BEEF ZOODLE | captaincastiron
ABSTRACT
6 CHICKEN BUTTERFLY keto | captaincastiron
ABSTRACT
5 PIZZA COMPOSITION | captaincastiron
ABSTRACT
4 PIZZA SHORT PREP | captaincastiron
ABSTRACT
3 PIZZA LONG PREP | captaincastiron -20 Minutes for 4 Cast Iron PIZZAS
ABSTRACT
2 PIZZA Pizza Dough | captaincastiron
ABSTRACT
1 PIZZA Basic Pizza | captaincastiron
ABSTRACT
new_test2
ART
DB
ART
Architecture
6 CHICKEN BUTTERFLY keto | captaincastiron
June 23, 2025
5 PIZZA COMPOSITION | captaincastiron
May 16, 2025
4 PIZZA SHORT PREP | captaincastiron
May 9, 2025
7 PIZZA BEEF ZOODLE | captaincastiron
June 30, 2025
3 PIZZA LONG PREP | captaincastiron -20 Minutes for 4 Cast Iron PIZZAS
May 2, 2025
2 PIZZA Pizza Dough | captaincastiron
April 26, 2025
1 PIZZA Basic Pizza | captaincastiron
April 19, 2025
NEW_TEST
June 4, 2025
SYCAMORE PLUGIN TESTSA
May 30, 2025
TEST
May 28, 2025